Dredd’ing The Terrain? Here’s A Simple Guide
This is a short & sweet step by step build guide for your Sci-Fi Judge Dredd style buildings. Cracking open the kit reveals 2 sheets of card and 2 sheets of MDF complete with simple instructions. For this build, we hand over to a new member of the Sarissa family, RichC…
RichC has been building terrain for many years. His love of the outdoors combined with a love of building aircraft and tank kits has lead to many a diorama - some of which have been published in various original Flames of War books. His terrain can also be found in various books from the Bolt Action range, as well as the backdrop to Test of Honour and others.
Slice open a pack
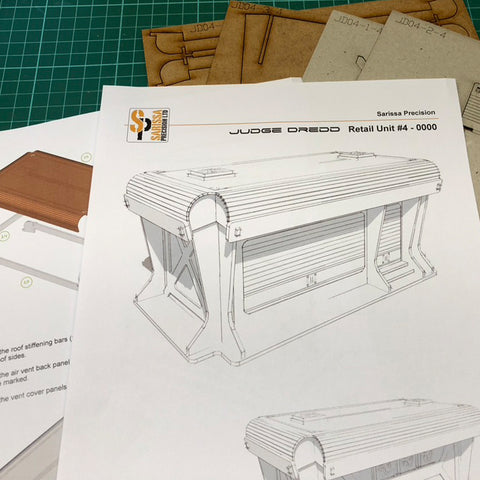
The instructions begin on the back of the cover page. Once you’ve familiarised yourself with these and the various MDF & card sheets before you, you'll be ready to build.
I’m planning on an overall light concrete effect when complete, so for this build, I’ll put the whole set together first before painting.
Ready, Steady, Build!
[One thing to remember throughout any build is the need to check the fit of any components before glueing.]
 |
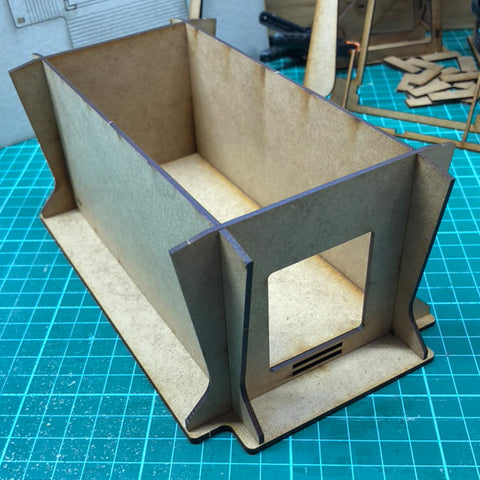 |
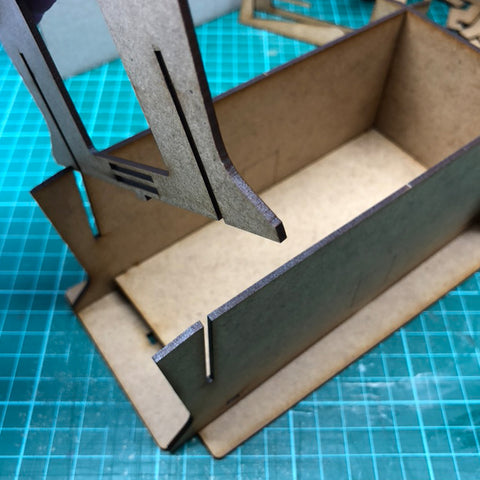
Pop-out the walls and fit them together. If you use a gell type superglue you’ll have a short time to rearrange parts before they set.
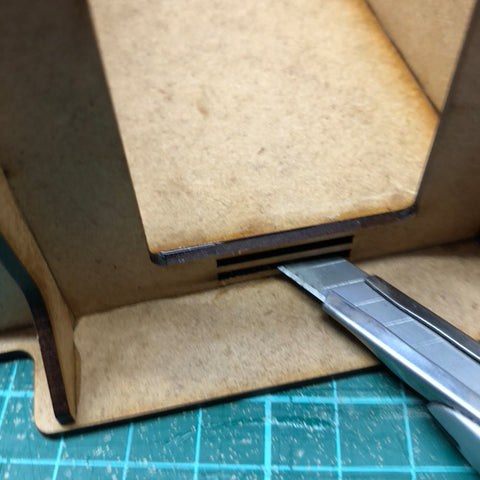
Keep an eye out for fragile parts such as the tab underneath this doorway, I used the edge of a knife blade to gently push the tab into place.
Cladding
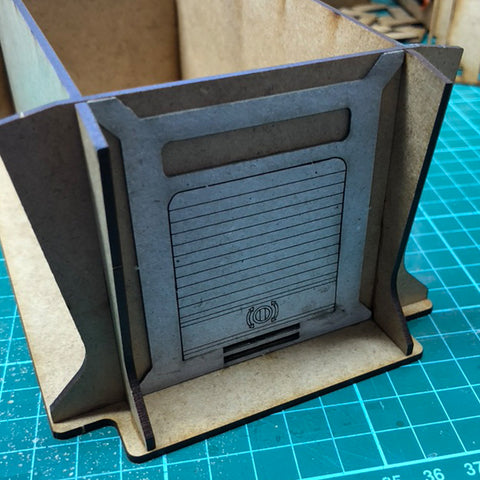
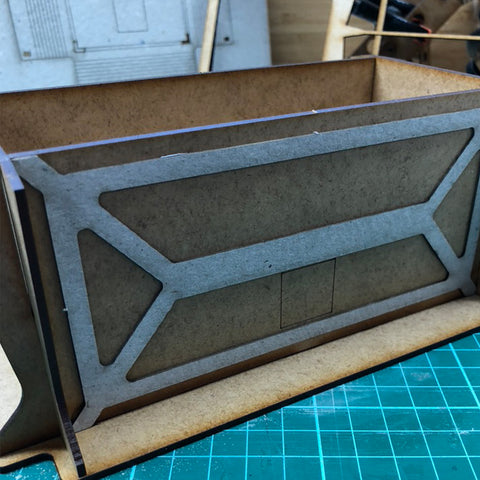
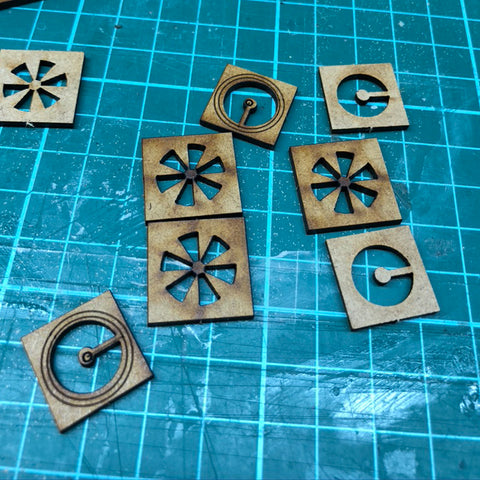
This kit has multiple layers to create depth and detail. Once you’ve checked the parts fit a small bit of super glue will attach them nicely.
 |
 |
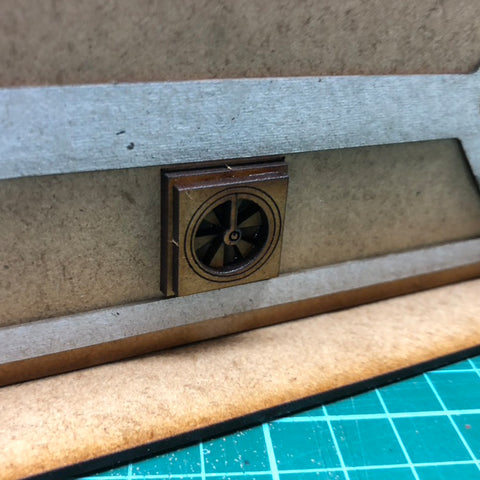
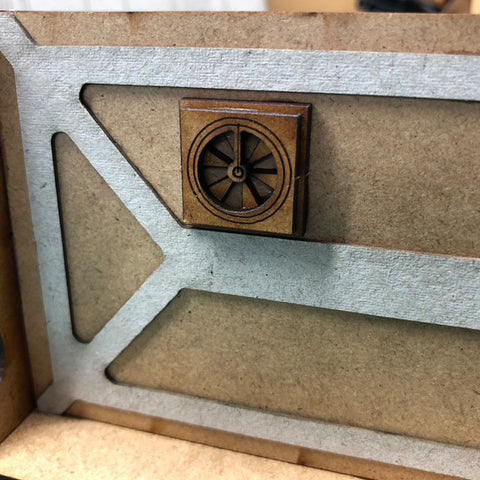
You’ll find some nice details like this fan system. The instructions will show you where to place them, although don’t let that stop you using them elsewhere.
 |
 |
 |
Roofing
Loose or fixed? Or in other words, do you game indoors or only outside… but perhaps this choice can wait. Start with the main cross trusses. Check fit and pop on a little glue then slot them together.
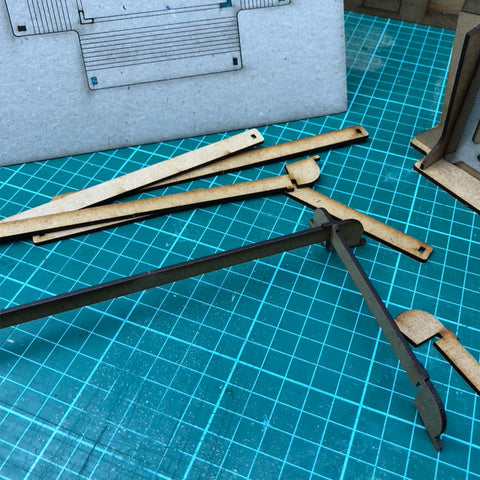
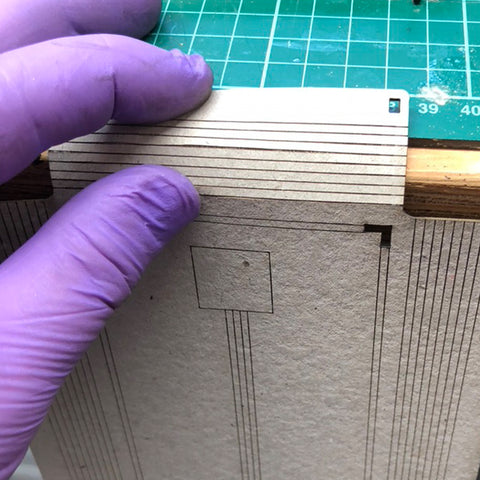
These buildings come with lovely curved sides to their roofs, yes curved! To prep them, simply roll them over the edge of a desk gently bending them at each line.
Top Tip: As stated on the instructions, carefully score along each line before curving you’ll get a nice smooth curve. It says score for a reason.
 |
 |
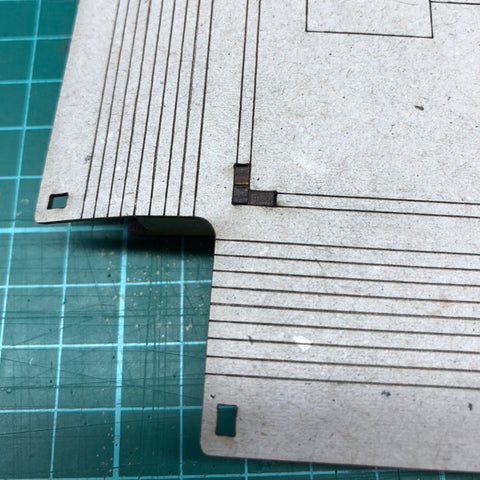
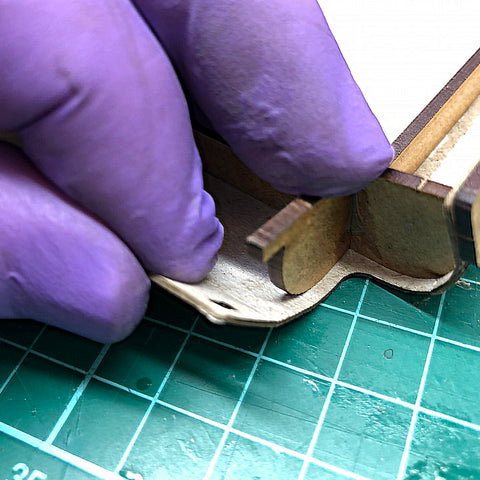
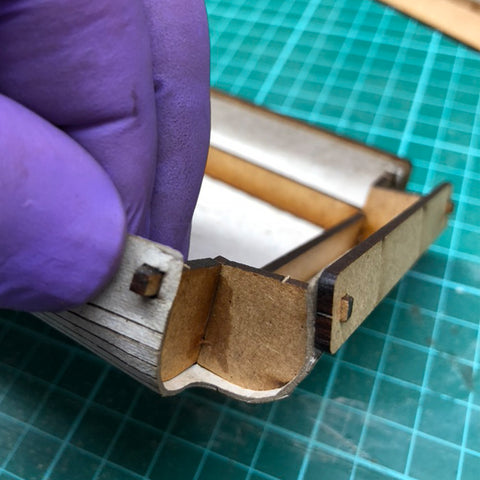
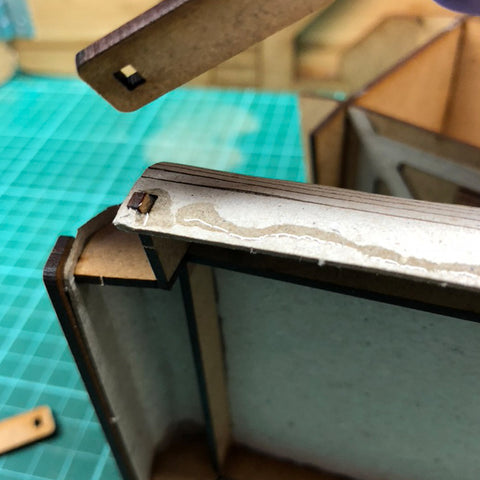
I approached this by rounding the roof toward the peg then, whilst pinching the card either side of the peg, pushed it over. Add a touch of glue on the inside. Don’t worry if you slightly tear the tab as you’ll hide it shortly with the facing piece.
 |
 |
 |
 |
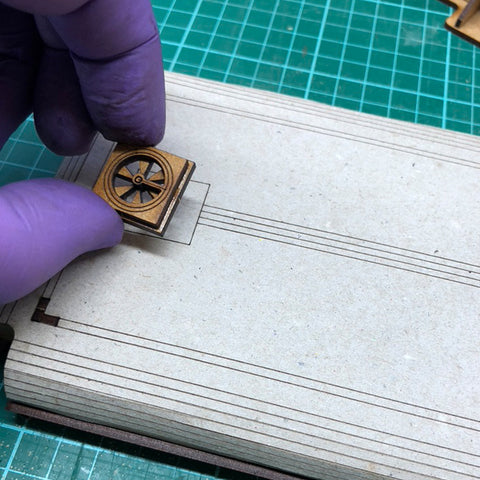
For a finishing touch, add your fan vents inside the marked areas.
Tah-dah!
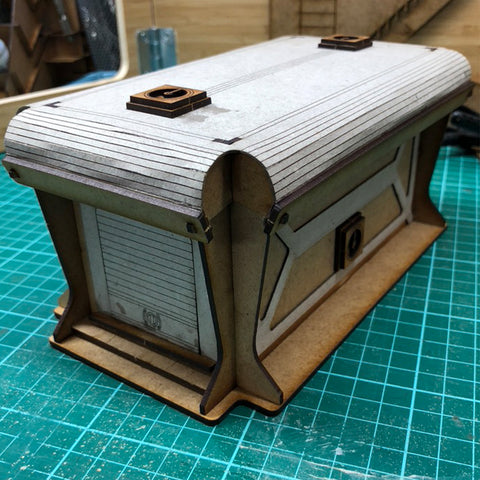
One of the great things about a Sarissa kit is not only how simple it is but also the potential for alternative builds. Turning a wall around, for example, can move a doorway from the left to the right end of a wall. Don’t forget to keep your leftover pieces as we can make use of those later.
Next Time...
We crack open the paint pots and bring a bit of colour into the world.
Show us your builds by posting them to #sarissaprecision


 Established in 2010, Sarissa Precision Ltd. has evolved into the industry’s leading manufacturer of (reasonably) awesome MDF model kits. Our range of expertly designed kits includes buildings and accessories for many periods and settings as diverse as the Dark Ages, WWII, SciFi and more. Working with leading companies - Warlord Games, Oathsworn Miniatures, Mantic Games and Footsore Miniatures & Games, Sarissa Precision also produce a number of bespoke lines for bestselling games such as Gates of Antares, Burrows and Badgers, The Walking Dead: All Out War and Gangs of Rome.

